



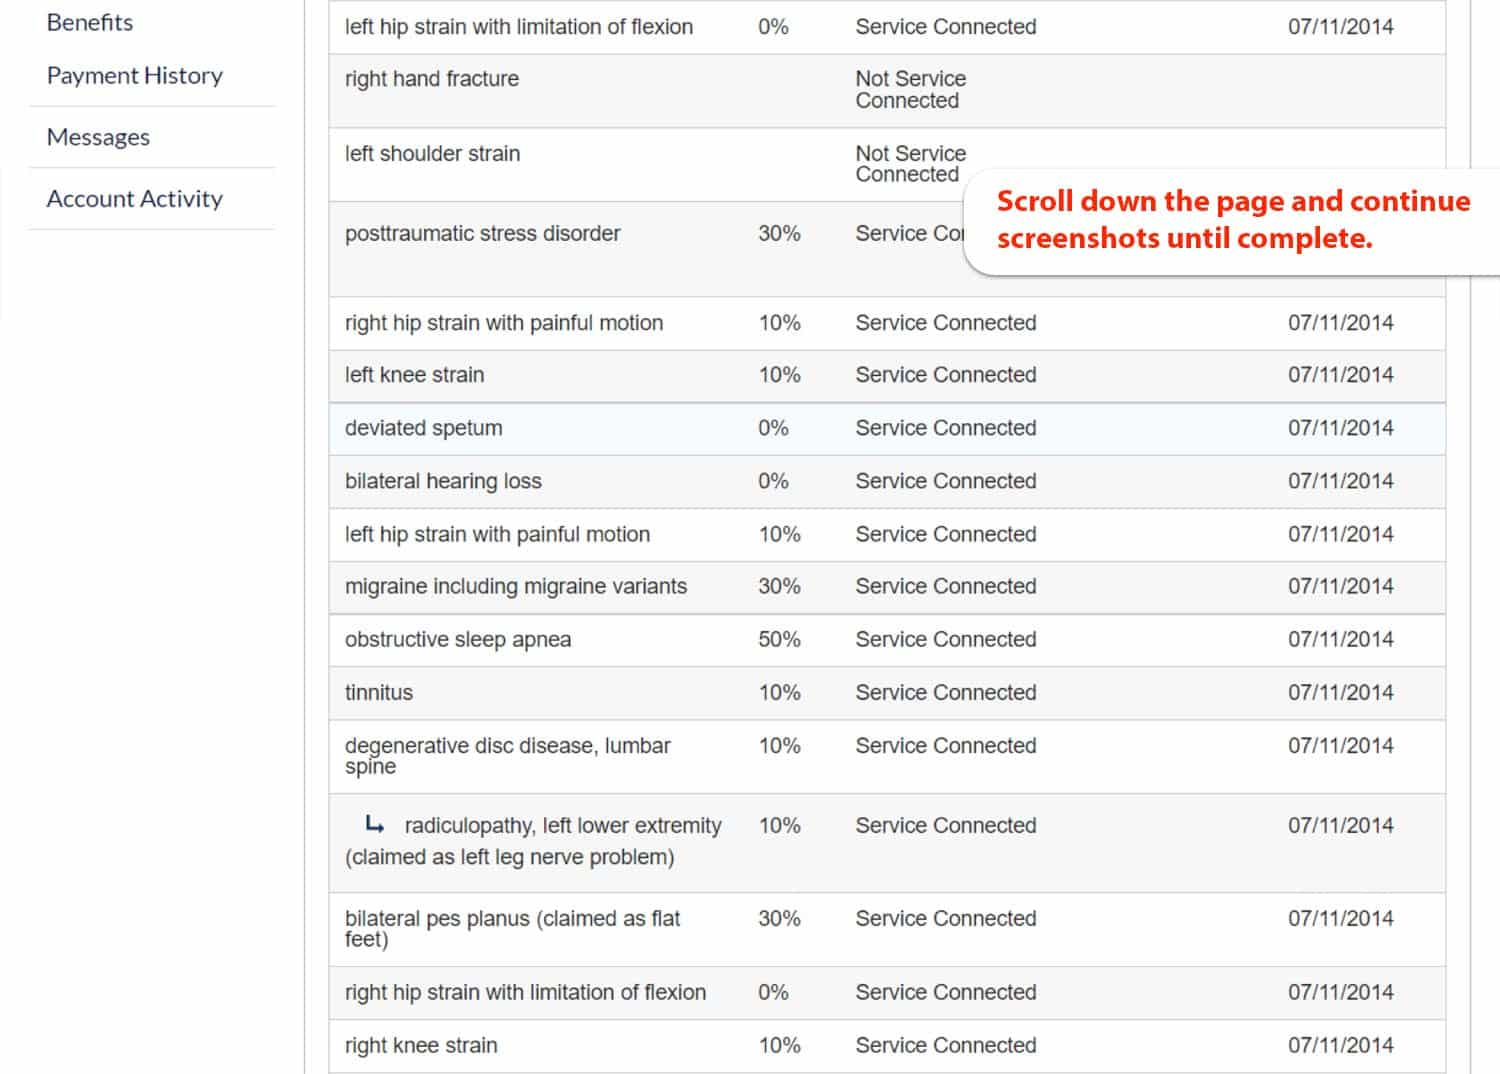

-
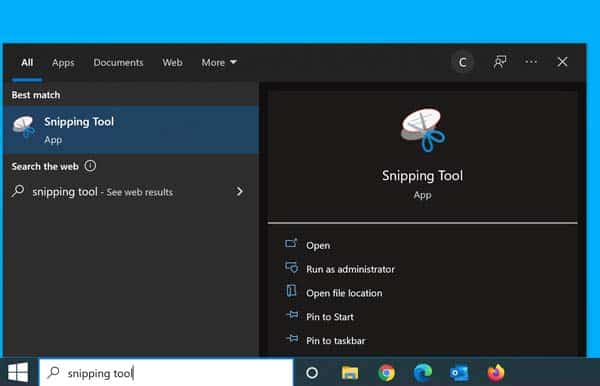
- Type Snipping Tool in the search box down by the start button. Click to open it.
-

- In the Snipping Tool, click New.
-

- Click and drag the plus sign cursor over the area you would like to copy.
-

- The area you selected will now show in the Clipping Tool. You can save this to your desktop. Next simply drag and drop these images into a Word document. You may also click copy (right of the save button) and then paste in Word to put the images in there. You can put all these screenshots in one Word document that you can then keep for future use.
-

- Press and hold shift and command keys, press 4.
-

- Click and drag the plus sign cursor over the area you would like to copy. When you let go of the cursor, you will see the selection pop up in the bottom right of the screen, After a few seconds it will automatically be saved to your desktop. Next simply drag and drop these images into a Word document. You can put all these screenshots in one Word document that you can then keep for future use.